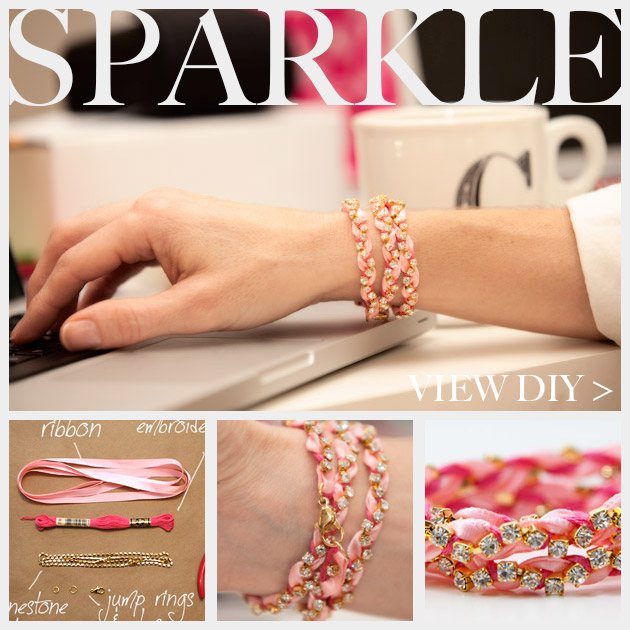
DIY Fashion by Trinkets in Bloom RHINESTONE BRAIDED BRACELET DIY
The holidays are all about sparkle and this Rhinestone Braided Bracelet DIY is a perfect way to add sparkle day or night. You’ll be amazed at how simple this project is.
GET READY TO SPARKLE >
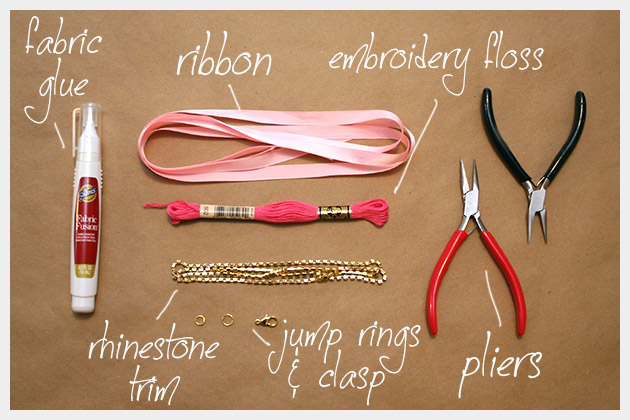
Supplies for your Rhinestone Braided Bracelet DIY:
- Rhinestone cord at least 2 feet, more depending on wrist size and how many wraps you want
- Half inch ribbon, slightly longer than rhinestone cord
- Embroidery thread
- Closure
- Jump rings
- Fabric glue
- Aleene’s Jewel-it glue
step 1
TIP: When I measured my rhinestone cord I found that before braiding, my cord wrapped around my wrist 4 times and after braiding it wrapped around 3 times. Keep that in mind when deciding how long to make your rhinestone cord. You’ll probably loose at least 1 wrap after braiding.
Start with your embroidery thread and measure 3 lengths a few inches longer than your rhinestone trim.
Make sure your ribbon is also a little longer as well.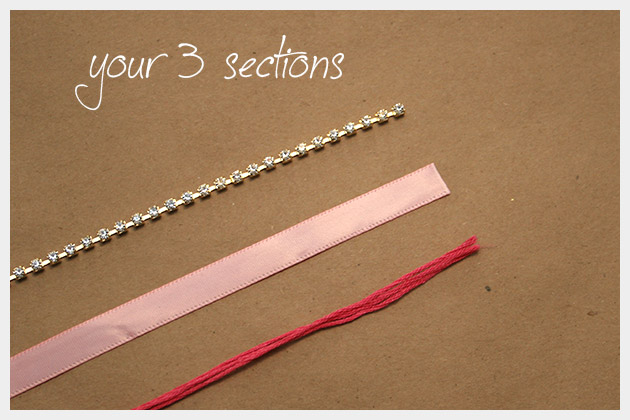
step 2
Attach one of your jump rings to your closure and set aside.
step 3
Take your other jump ring, your fabric glue and your ribbon.
Thread your ribbon through your jump ring and fold it over about one half inch and glue it down with your fabric glue.
Do the same with your embroidery thread.
Let them dry.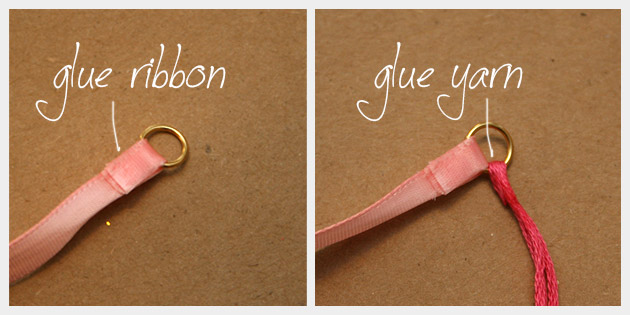
step 4
Once your ribbon and embroidery thread are dry, place a small amount of your Aleene’s Jewel-it glue on your ribbon and press the end rhinestone into it.
Let it dry.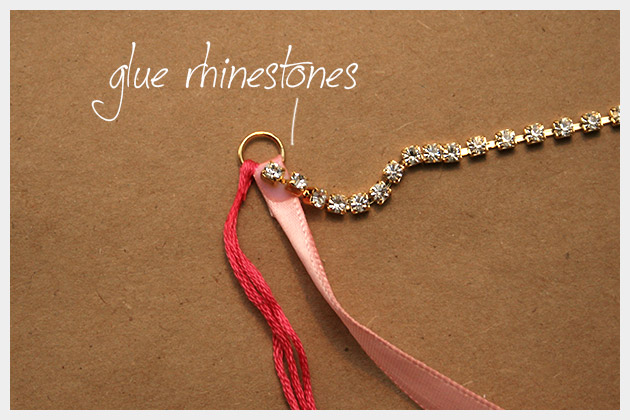
step 5
When all your glue is dry you’re ready to start braiding.
This is just a simple braid, I kept it a little tight and pulled the embroidery thread in between the rhinestones as I braided it.
Continue braiding all the way to the end of your rhinestone cord.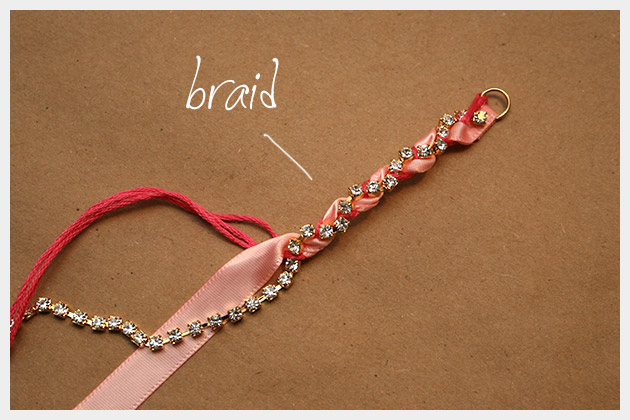
step 6
When you are finished braiding, take your jump ring with the closure attached and glue your ribbon and embroidery thread through the jump ring the same way you did at the beginning. Let them dry.
When they are dry apply a small amount of your Jewel-it glue to the end of your ribbon and press the end of your rhinestone cord into it.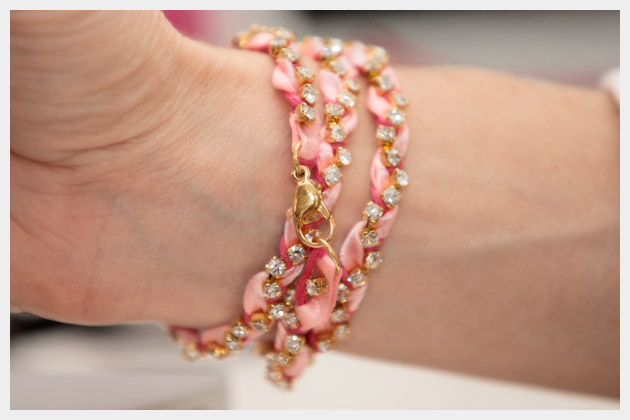
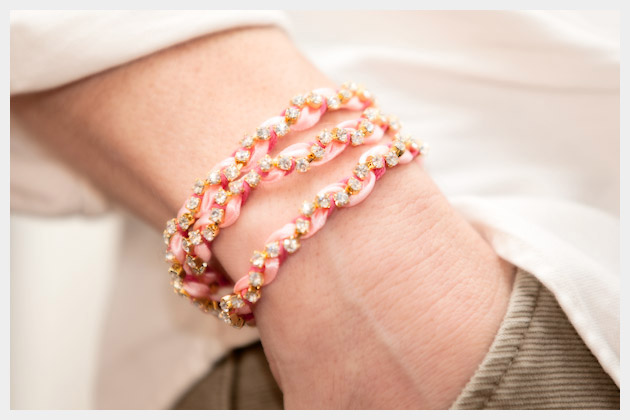
I think this is definitely my new favorite bracelet. I was really happy at how it turned out.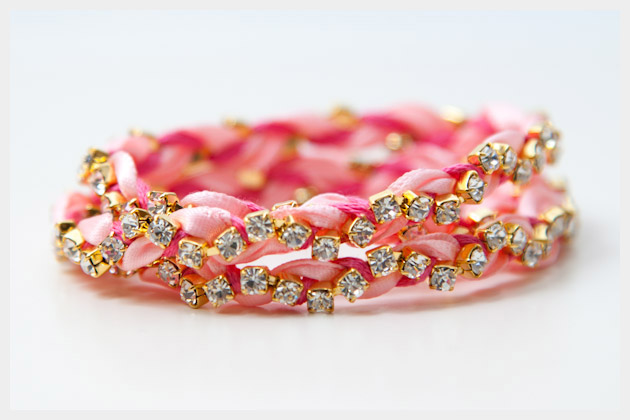
It has a lot of sparkle and it’s simple enough to be stacked with other bracelets or worn alone.
Again this is a great project to really customize to your taste. You can mix it up with any color you want and even make it as long or as short as you want. Have fun with it!
